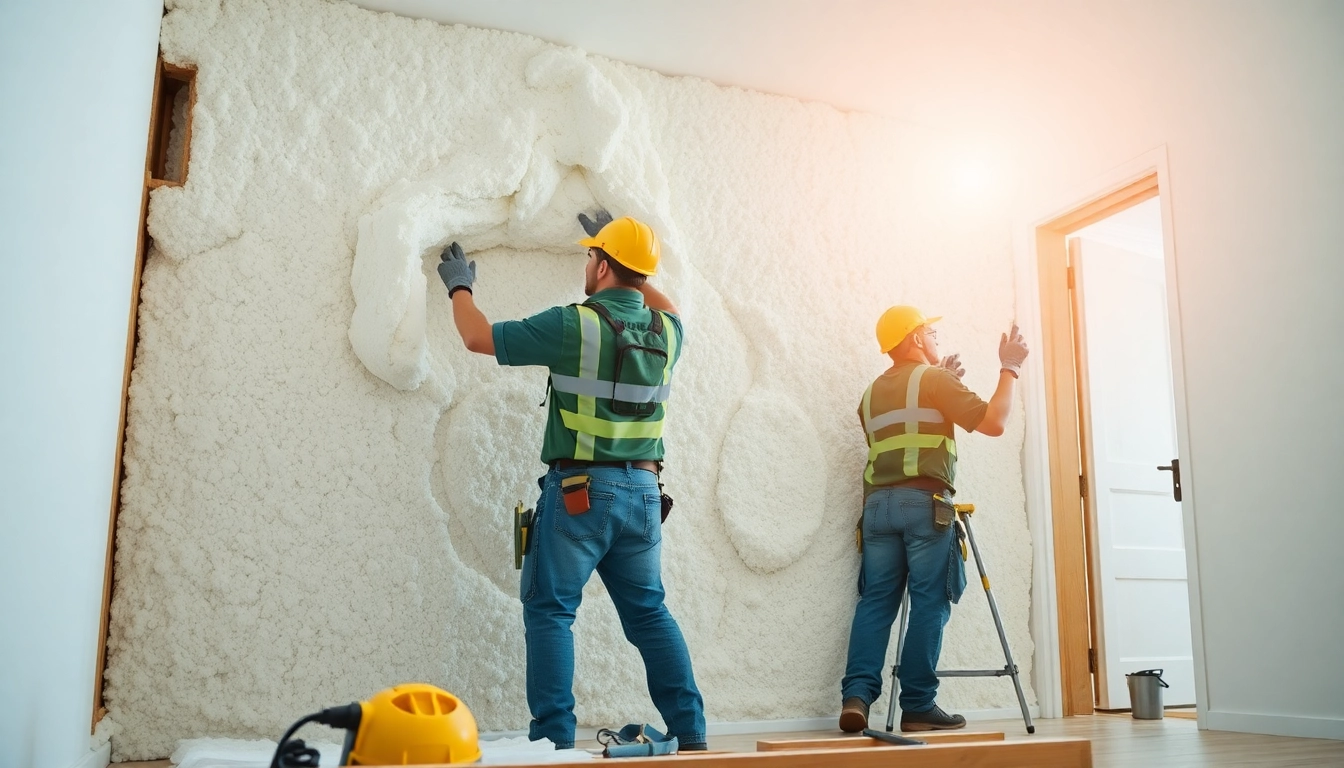
Understanding Spray Foam Insulation Removal
What is Spray Foam Insulation?
Spray foam insulation, a sophisticated option for sealing and insulating spaces, consists of a mixture of chemicals that, when combined, expands to fill gaps, crevices, and cavities. This insulation method is known for its superb energy efficiency, moisture protection, and soundproofing capabilities. Homeowners and builders often choose spray foam insulation over traditional options like fiberglass batts due to its superior performance. However, in certain scenarios, the need for spray foam insulation removal arises, requiring a detailed understanding of the process and its implications.
Why Removal is Sometimes Necessary
Despite its advantages, several factors may necessitate the removal of spray foam insulation. These include detected damage, water intrusion, or development of unpleasant odors. Addressing mold and mildew growth becomes paramount, as it can pose health hazards to occupants. Additionally, improper installation may lead to energy inefficiencies, prompting homeowners to consider removal to maintain ideal comfort and lower energy bills.
Signs You Need Spray Foam Insulation Removal
Recognizing the signs indicating that your spray foam insulation requires removal is crucial. Look for:
- Visible mold growth on or near insulation
- Unpleasant odors indicating decay or mildew
- Increased energy bills due to insulation inefficiency
- Water stains or signs of moisture infiltration
- Structural problems like sagging ceilings or walls
These indicators necessitate a thorough assessment of your insulation and HVAC systems, guiding you towards the right actions for remediation.
Safety Precautions During the Removal Process
Necessary Protective Gear
Before proceeding with spray foam insulation removal, it’s essential to equip yourself with appropriate protective gear. Necessary items include:
- Respirators or masks rated for chemical vapors
- Gloves made from chemical-resistant materials
- Goggles or safety glasses to protect the eyes
- Protective clothing, including long sleeves and pants
- Hearing protection if using loud tools
Wearing the right protective gear not only enhances safety but also improves the efficiency of the removal process.
Common Hazards to Watch For
During the insulation removal process, various hazards may arise. These include:
- Exposure to harmful chemicals released during foam degradation
- Asphyxiation risks from insufficient ventilation
- Slip and fall accidents on debris or insulation
- Electrical hazards when working near wiring
A comprehensive understanding of these hazards allows workers to take proactive measures to mitigate risks and ensure a secure working environment.
Emergency Procedures
Developing emergency procedures is vital to respond effectively in case of accidents or hazardous exposures during the removal process. Key steps include:
- Establishing a safety protocol for exposure incidents
- Having emergency contact information readily available
- Identifying locations of first aid kits and fire extinguishers
- Designating an evacuation route and assembly point
Regular training and drills can ensure that all personnel are familiar with safety measures and are prepared to act efficiently in emergencies.
Step-by-Step Guide to Spray Foam Insulation Removal
Preparation and Setup
Preparation is crucial for a successful spray foam insulation removal. Begin by securing the area, ensuring effective ventilation to prevent the accumulation of toxic fumes. Remove any furniture or obstacles within the workspace. Additionally, prepare your tools and equipment ahead of time to avoid delays during the removal process.
Tools and Equipment Needed
To carry out the removal efficiently, the following tools and equipment are typically required:
- Utility knives for cutting foam
- Scrapers for peeling off insulation
- Heat guns to soften the foam prior to removal
- Vacuum with HEPA filters to collect debris
- Tarps to cover surrounding areas and minimize mess
Equipping yourself with the right tools significantly enhances the efficiency and effectiveness of the removal procedure.
The Removal Procedure Explained
The removal procedure can be broken down into several systematic steps:
- Assess the Area: Inspect the insulation and surrounding materials to determine the best approach for removal.
- Cut the Foam: Use utility knives to carefully slice through the foam insulation. Take care not to damage any underlying structures.
- Peel Away Insulation: Employ scrapers to peel the foam away from surfaces. Use heat guns to soften stubborn sections.
- Clean Up: Collect debris using backpacks or vacuums equipped with HEPA filters. Ensure the area is thoroughly cleaned to eliminate residual materials.
- Disposal: Properly dispose of removed insulation per local regulations, often requiring landfill-compliant methods.
Each step demands attention to detail to avoid injury or damage while maximizing efficacy.
Post-Removal Considerations
Cleaning and Disposal of Foam Materials
Post-removal cleaning is essential not only for safety but also for preparing the area for new insulation. Follow-up with comprehensive cleaning, including:
- Decontaminating the area with appropriate cleaning agents
- Disposing of vacuumed materials per environmental regulations
- Implementing a post-removal inspection to assess for any remaining residue
Proper disposal methods ensure environmental responsibility while maintaining safety standards.
Assessing for Residual Chemicals
Once the insulation has been removed, conduct an assessment for any residual chemicals that could pose health risks. Consider employing a professional service to analyze air quality and residual chemical levels thoroughly. Regular air quality monitoring can safeguard your home and family from potential exposures.
Repairing Damaged Areas
Following removal, repairing damaged areas is critical to restoring structural integrity and preparing for new insulation. Tasks include:
- Inspecting and replacing damaged drywall or wall studs
- Addressing any electrical issues uncovered during removal
- Applying necessary repairs to prevent future moisture intrusion
Engaging professionals for repairs can ensure that all improvements meet building codes and safety standards.
Frequently Asked Questions About Spray Foam Insulation Removal
How long does the removal process take?
The duration varies based on the area size and foam type but typically lasts from a few hours to several days.
Can I remove spray foam insulation myself?
While DIY removal is possible, hiring professionals is advisable due to safety risks and technical complexities involved.
What are the costs associated with removal?
Costs depend on the amount of insulation and local labor rates, ranging from modest to significant expenses for removal and repairs.
How do I choose a removal professional?
Evaluate qualifications, experience, and customer reviews. Ensure they adhere to safety protocols and utilize appropriate techniques.
Is insulation removal harmful to my home?
If handled correctly, insulation removal can be beneficial. Poor removal, however, can lead to structural damage and increased hazards.